

Guide to Restoring Your Stovetop's Glory: Remove Burnt Stains
Posted on 17/08/2025
Guide to Restoring Your Stovetop's Glory: Remove Burnt Stains
Is your beautiful stovetop marred by stubborn burnt stains? Regain your kitchen's sparkle and extend your appliance's life with this comprehensive guide to cleaning and restoring your stovetop. Whether you have a gleaming glass cooktop, a timeless gas range, or an induction surface, burnt stains don't have to be permanent. Discover the secrets to returning your stovetop's original shine, learn the best stain removal methods, and prevent future messes--starting today!
Understanding Burnt Stains on Your Stovetop
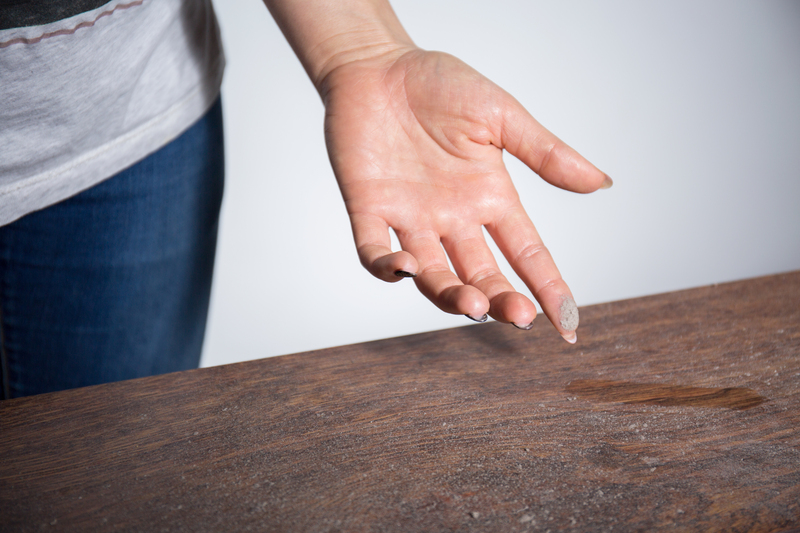
Before jumping into removal methods, it's essential to understand why burnt stains occur and which types your stovetop commonly faces. Spilled food, boiling over sauces, or overlooked debris quickly char when subjected to high heat, forming unsightly marks and crusts. Over time, they become tough, baked-on layers that resist quick wipes. These persistent stains not only make cleaning harder, but can also impact your stovetop's performance and even cause unpleasant odors.
Common Stovetop Materials and Their Challenges
- Glass/Ceramic Cooktops: Sleek and modern, but show every mark. Scratches and stubborn stains are common.
- Gas Ranges: Feature removable grates, but spills bake onto both burners and enamel surfaces.
- Induction Stoves: Easier to clean thanks to cool surfaces, but still prone to mineral and burnt-on food stains.
- Electric Coil Stoves: Frequently exposed to overflowing food, causing carbonized residue and messy elements.
Essential Tools and Supplies for Stovetop Restoration
Before tackling burnt stains, gather the following cleaning tools and products:
- Non-abrasive scrub pads or sponges
- Baking soda and white vinegar (natural cleaning agents)
- Razor blade scraper (for glass cooktops)
- Soft microfiber cloths for wipe-downs
- Dish soap (grease-cutting formulas work best)
- Commercial stovetop cleaner for heavy-duty stains
- Old toothbrush for nooks and burners
- Warm water in a spray bottle
Be sure to check your appliance's manual before using scrapers or strong chemicals, especially on delicate surfaces.
How to Remove Burnt Stains from Your Stovetop: Step-by-Step
Let's dive into the best approaches to restore your stovetop's luster. Below, we break down specific techniques by stove type, ensuring the right solution for every kitchen.
1. Removing Burnt Stains from Glass or Ceramic Cooktops
-
Wait Until the Surface is Completely Cool
Never attempt to clean a hot stovetop. Let it cool to avoid burns and prevent cleaning product evaporation. -
Wipe Away Loose Debris
Use a dry microfiber cloth to remove any crumbs or food debris so they don't scratch the surface during cleaning. -
Apply Baking Soda Paste
Mix three parts baking soda with one part water to make a thick paste. Spread this generously over burnt stains. -
Spritz with Vinegar
Lightly spray the baking soda with white vinegar. The natural fizz helps break down stains. -
Let It Sit
Allow the mixture to sit for 15-30 minutes. This gives the ingredients time to lift caked-on grime. -
Gently Scrub
With a non-abrasive sponge, gently scrub in circular motions. Repeat application for stubborn stains. -
Use a Razor Scraper (If Needed)
Hold the scraper at a 45-degree angle and carefully glide it over burnt residue. Only use this tool for glass surfaces! -
Wipe Clean
Remove residue with a damp microfiber cloth and buff dry for a gleaming finish.
2. Gas Stovetop Stain Removal Techniques
-
Disassemble Removable Parts
Carefully remove burner grates, knobs, and burners. Soak them in warm, soapy water for at least 15 minutes. -
Apply Cleaning Solution to Surface
For baked-on stains, use a mix of vinegar and baking soda or a high-quality stovetop cleaner. -
Scrub with a Sponge or Toothbrush
Work in tight spaces with a toothbrush and apply more solution as needed for heavy buildup. -
Clean Grates and Burners
Scrub soaked parts with a sponge or brush to remove carbon and grease. Rinse and dry thoroughly. -
Reassemble
Ensure all components are fully dry before putting them back to avoid rust.
3. Induction and Electric Coil Stovetop Cleaning
- Induction Stoves: Follow glass cooktop cleaning methods, as surfaces are similar.
- Electric Coil Stoves: Unplug and remove coils before cleaning. Wipe drip pans with soapy water. Use a paste of baking soda on stubborn stains, allowing it to sit before scrubbing gently.
Best Natural Remedies for Stovetop Burnt Stains
For those who prefer chemical-free cleaning, the following remedies are effective and eco-friendly:
- Lemon Juice: The acidity of lemon juice breaks down grease and leaves a fresh scent. Rub directly onto stains, sprinkle with salt, and scrub gently.
- Baking Soda & Vinegar: The classic fizzing combo is safe, non-toxic, and powerful for most cooked-on messes.
- Hydrogen Peroxide: For very tough stains, a mix of hydrogen peroxide and baking soda can help dissolve grime (test on small areas first).
Stain Removal: Safety Precautions
- Always wear gloves to protect your skin from harsh chemicals or abrasive scrubbing.
- Open windows when using strong cleaners to ensure proper ventilation.
- Test unfamiliar cleaning solutions on a small, hidden spot first.
How to Prevent Burnt Stains on Your Stovetop
Once your stovetop is restored, keep it pristine with these expert prevention strategies:
- Wipe up spills immediately before they have a chance to bake on.
- Use spill catchers or splatter guards when boiling or frying.
- Regularly clean burner grates and drip pans to prevent carbon buildup.
- Deep clean at least once a month, even if the stove appears clean.
- Always use cookware appropriate for your stovetop to avoid scratches or overheating.
Top Commercial Products for Stubborn Burnt Stains
While household remedies work wonders, sometimes it's best to reach for specialized products formulated for the toughest grime. Consider these highly-rated stovetop cleaners:
- Weiman Glass Cook Top Cleaner & Polish: Effective for glass and ceramic, removes tough, burnt-on residue.
- Bar Keepers Friend Cooktop Cleaner: Versatile and gentle, tackles both grease and burnt deposits without scratching.
- Cerama Bryte Cooktop Cleaning Kit: Includes a scraper and scrubbing pad--ideal for recurring stains and regular use.
Tip: Always follow manufacturer's directions when using commercial cleaners to avoid damaging your stovetop.
FAQs: Stovetop Burnt Stain Removal
Can you remove burnt stains without scratching the glass?
Yes! Always use non-abrasive pads or soft cloths. When using a scraper, hold it flush and move gently. Never use steel wool on glass or ceramic stoves.
How often should I deep-clean my stove?
Aim for a thorough deep clean at least once a month, or more often if you cook frequently or experience frequent boil-overs and spills.
Are commercial stovetop cleaners safe for all stove types?
No. Check product labels for compatibility with your specific stovetop (glass, ceramic, enamel, stainless steel, etc.).
Can burnt stains cause permanent damage?
While most burnt stains are removable, long-term neglect can cause etching, discoloration, or weaken stove materials over time. Prompt cleaning is always best.

Restoring Your Stovetop's Shine: Final Thoughts
Restoring your stovetop's glory and banishing burnt stains is within anyone's reach. With proper techniques, patience, and non-abrasive tools, your kitchen can regain its bright, inviting appeal. Make cleaning a routine, act quickly on spills, and choose solutions appropriate for your stove type--your efforts will be rewarded with sparkling results and a longer-lasting appliance.
Ready to enjoy a spotless, pride-worthy cooking surface? Start implementing these tips today and watch burnt stains become a problem of the past!